Crack Stitch Installation Instructions

CAUTION - ALWAYS WEAR SAFETY GOGGLES WHEN CUTTING CONCRETE & RUBBER GLOVES WHEN WORKING WITH EPOXY
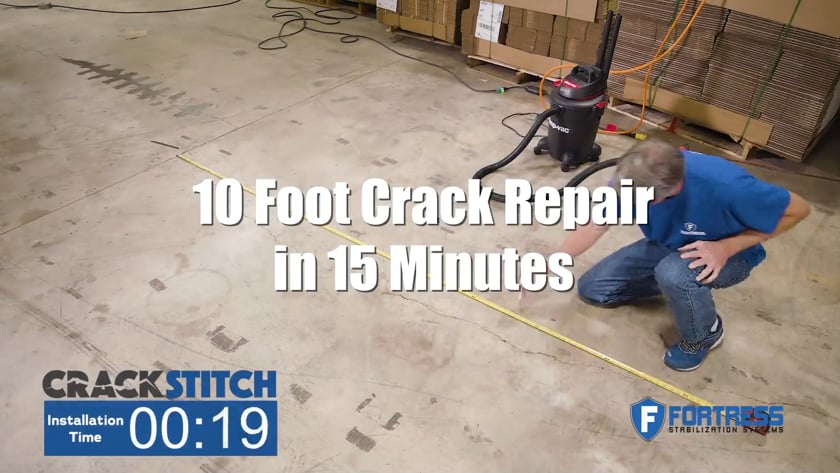
vimeo-video-thumbnail
  • 1. Prepare the Area


    1.1
    If uneven surfaces, you may need to surface grind to level the area

  • 2. Layout Your Stitches


    2.1
    . Lay the stitch perpendicular across the crack

    2.2. Mark a line along the long end of the stitch

    2.3. Space out and mark your stitches about 12” apart

  • 3. Cut the slot


    3.1.
    Cut a slot minimum 1/8” wide 3/4” deep at each location. (Cut past your line if using a straight cut stitch vs. an angled cut stitch).

    3.2. Vacuum any remaining dust and debris from the area

    3.3. Dry fit the stitch to be sure the entire stitch is below the surface

  • 4. Fill the Slot With Epoxy

  • 5. Install Stitches

    5.1. Install the stitch into the slot

    5.2. Use a putty knife to fill in and smooth the surface and remove excess

    5.3. Add more epoxy if needed and finish with putty knife

    5.4. Use remaining or additional epoxy to fill in the crack

    5.5. Apply aggregate top coat if desired

  • 6. Cure Time


    6.1.
    Gel time is about 30 minutes at 70 degrees Fahrenheit

    6.2. Full cure is 24hrs at 70 degrees Fahrenheit

Tool List:

  • Saw - Circular saw for floors, tuck point saw recommended for vertical surfaces. Highly reccomend a saw with a vacuum connection. 
  • Concrete Blade - Diamond crack chase blades work well
  • Dual Barrel Epoxy Dispenser 
  • Shop Vacuum
  • Safety Goggles
  • Gloves (Included with 20 stich kits)
  • Putty knife (Included with 20 stich kits)
  • Pencil or Marker for tracing stitch cuts
  • Tape Measure